
Getting started with your new website
Your new Squarespace website is fully customisable. Below, you’ll find some suggested steps for how to get started, and guide you through some of the most common things you may want to change.
-
Before adding your logo (optional), ensure you've replaced the default logo placeholder text with the name of your site.
By default, the site title will display in the same font as the demo site for your template.
For more help, visit Adding a site title.
-
You may decide to change colours on your website, this guide will show you how to do it.
-
You can definitely just leave the site title as it is. If you wish, you can replace the site title with your own logo.
Find instructions for how to do this here.
-
You’ll want to replace the demo text in the template. Editing text is just like using a word processor.
Find more detailed instructions here.
-
Your website features a contact form (possibly on multiple pages). To ensure you receive a notification if someone sends you a message, make sure to edit the contact form notification email address in the Form Block.
You can find instructions for how to do this here.
-
The footer of your website contains demo content that you’ll need to edit.
Find instructions for how to do this here.
-
This is where you’ll add or edit the pages that appear on your website.
Get an overview of the Pages Panel here.
-
Your template includes the main pages that you will need for your website. You can, however, add as many pages as you like.
If you do need to add more pages, you can find out how to do that here.
-
Your website has a built-in newsletter opt-in form that you can use to grow your email list. This opt-in block is designed to be used with Squarespace Email Marketing. Find out how to get started with that here.
If you already use a different email marketing platform (such as Mailchimp or Flodesk), you can still collect email addresses by embedding your form onto the page.
Add a Section to your page where you would like your opt-in form to appear.
Add an Embed Block to the section where you would like the form to appear.
Inside your email marketing app, copy the embed code for the form you’d like to use.
Paste the embed code in the ‘Snippet Code’ section of the Embed Block.
You’re good to go!
-
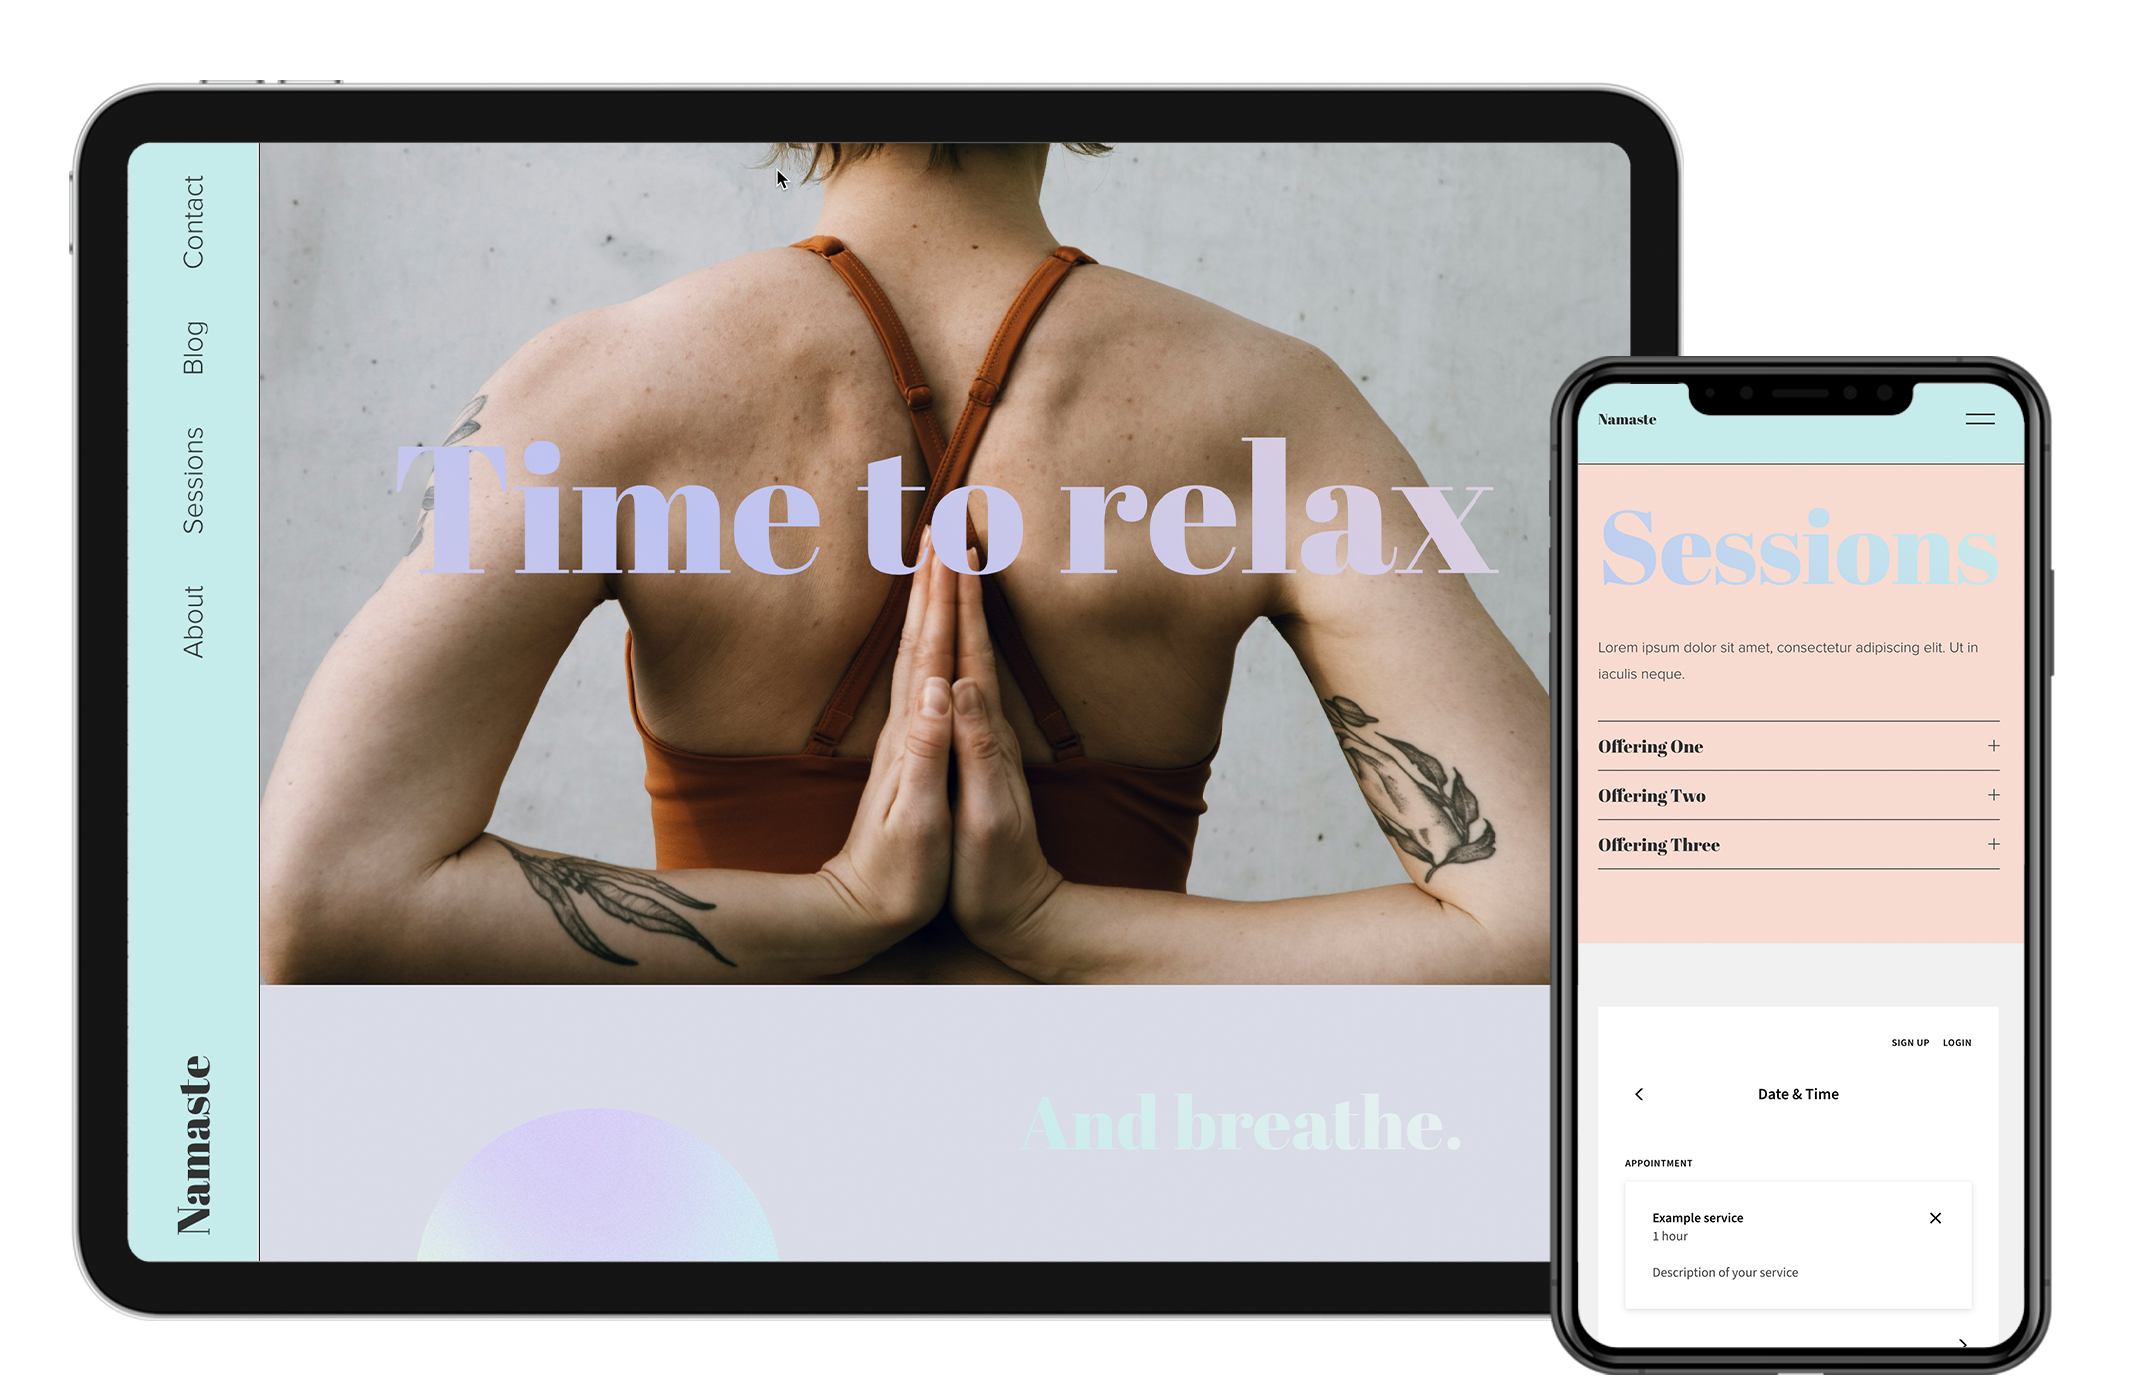
Your website offers an integration with Acuity Scheduling - Squarespace’s solution for allowing you to sell time-based services.
When you’re ready to enable this function, follow the instructions here.
TIP: You can delete the Book Now section if you’re not ready for this, and add it back at any time.
If you don’t want to pay for a subscription to Acuity Scheduling, you can replace it with a simple form. You can find guidance on how to do that here.
-
You can create and sell as many digital courses on your website as you like.
You can find out more information on how to do that here.
-
Usually, a Squarespace website comes with a 14-day free trial. As I’m a Squarespace Circle member, your website comes with an extended trial period of six months (meaning you can take your time getting ready to launch).
When you’re ready to publish your website, you’ll need to purchase the relevant Squarespace plan, and connect your domain. You can find more information on how to connect your domain here.